Create an Application
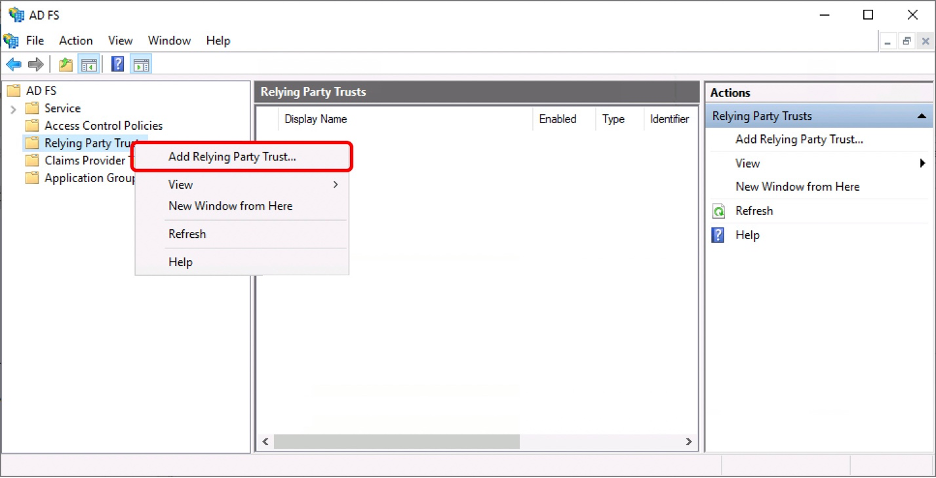
- In the AD FS management console, right-click on Relaying Party Trust and click “Add Relaying Party Trust”.
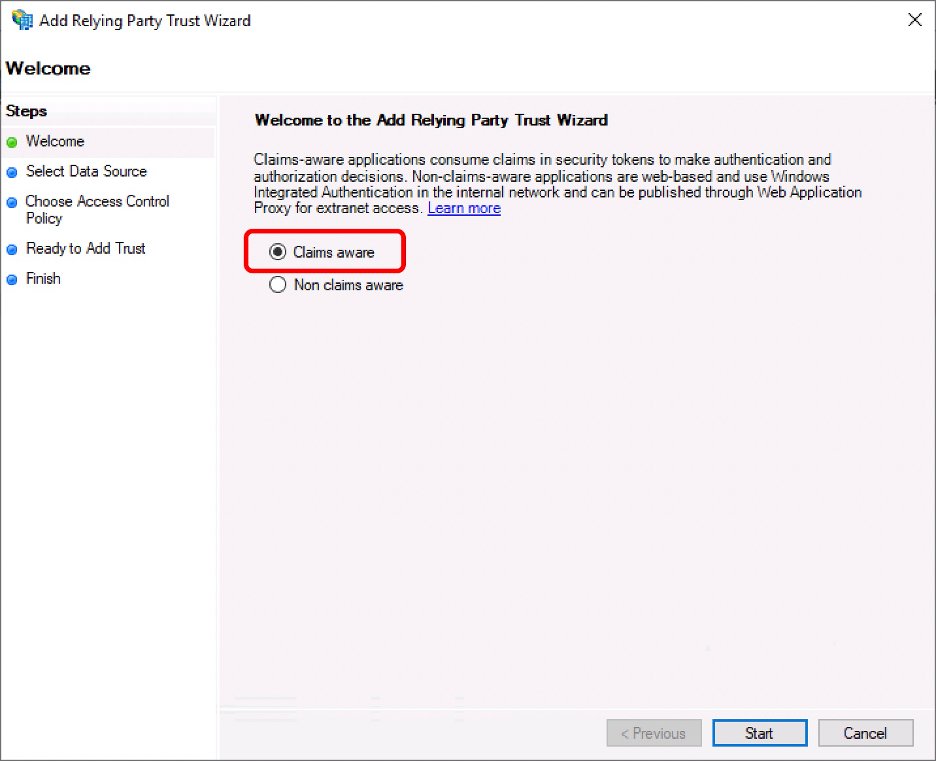
- Choose “Claims aware” and click “Start”.
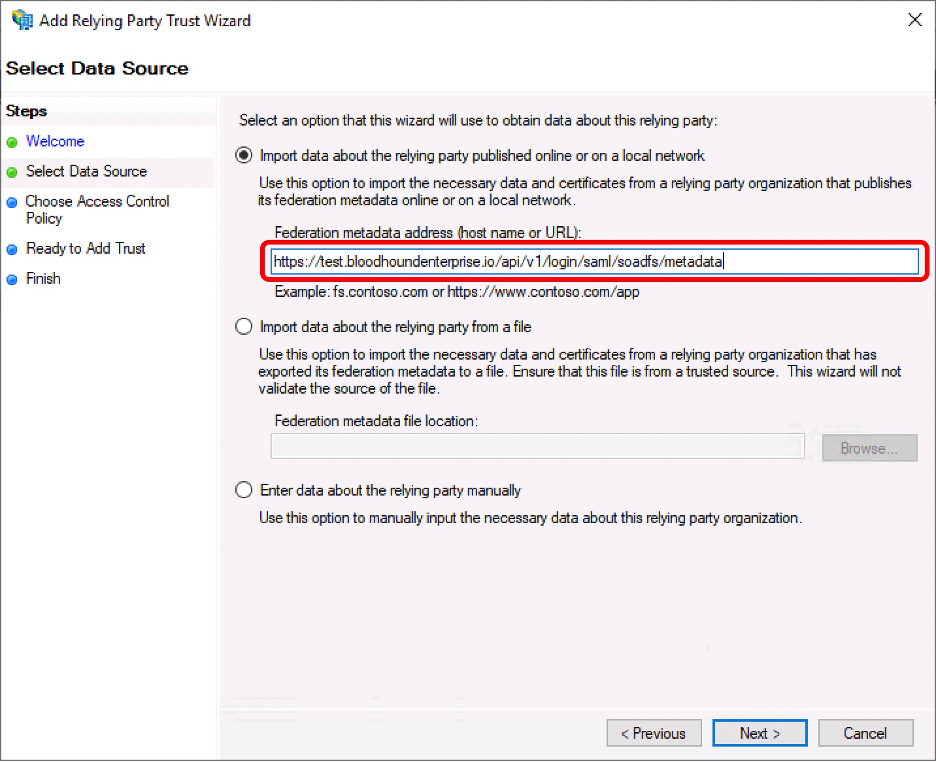
- Insert the metadata URL based on your chosen name and click “Next.”
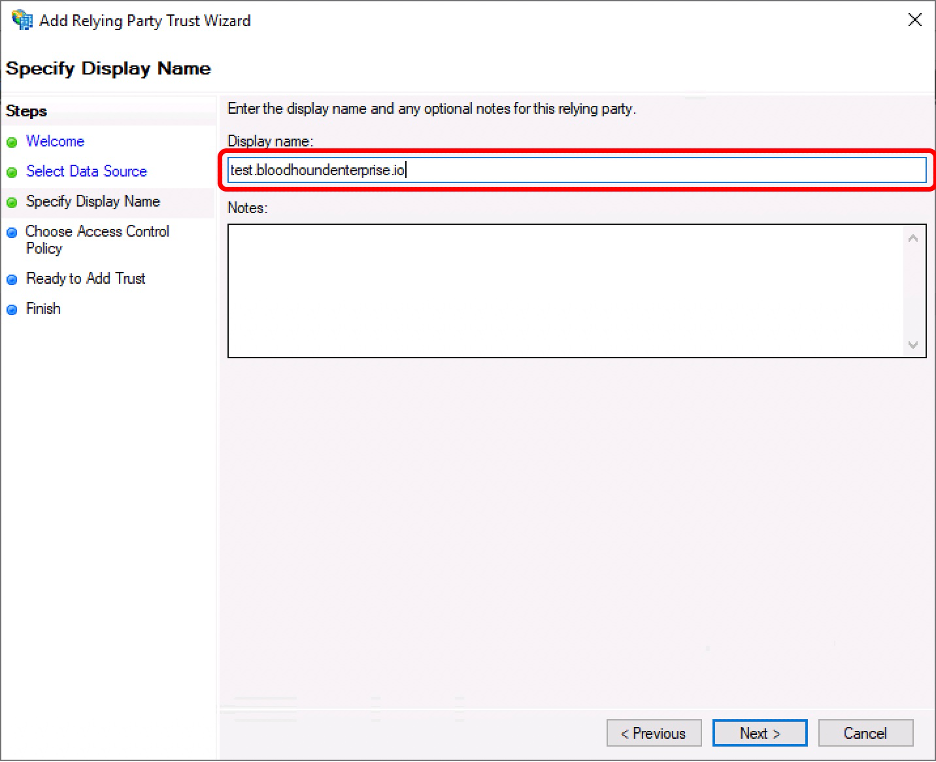
- Enter the preferred display name and click “Next.”
- Choose the desired Access Control Policy. (Note that access and permissions are configured within BloodHound Enterprise).
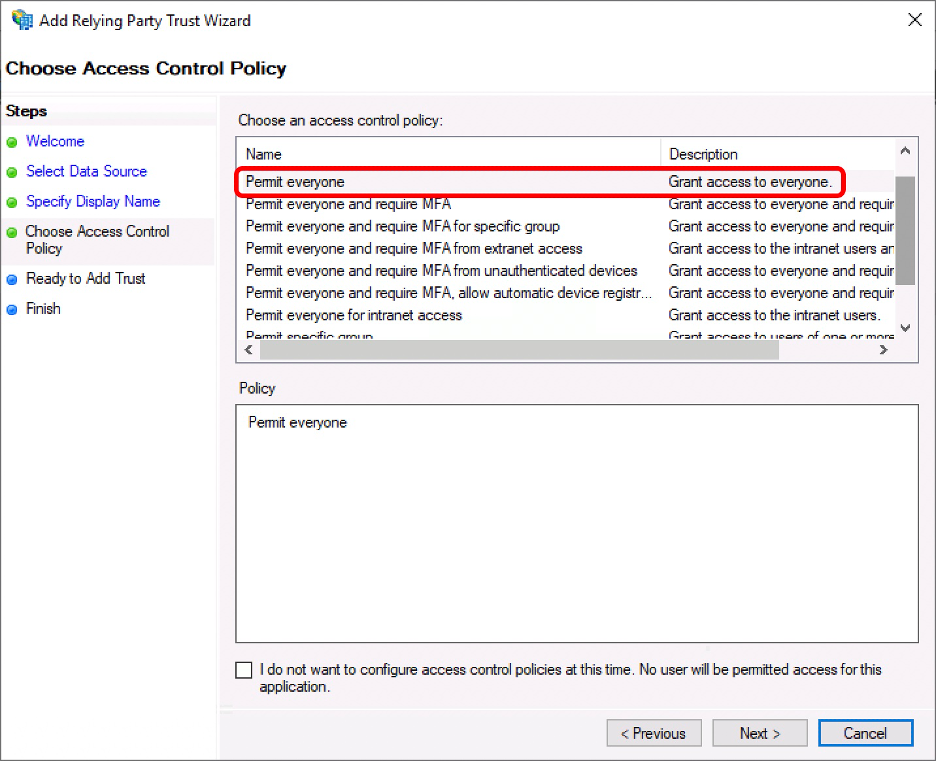
- Review the information presented and click “Next”.

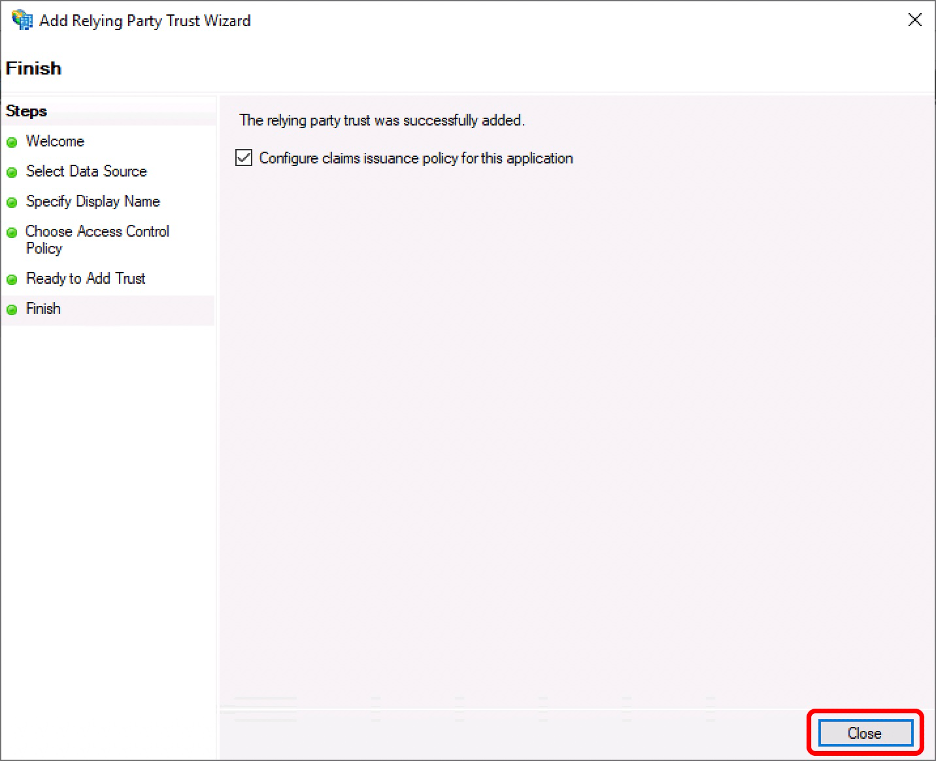
- Leave the “Configure claims issuance policy for this application” box checked and click “Close”.
Complete SAML Integration Configuration
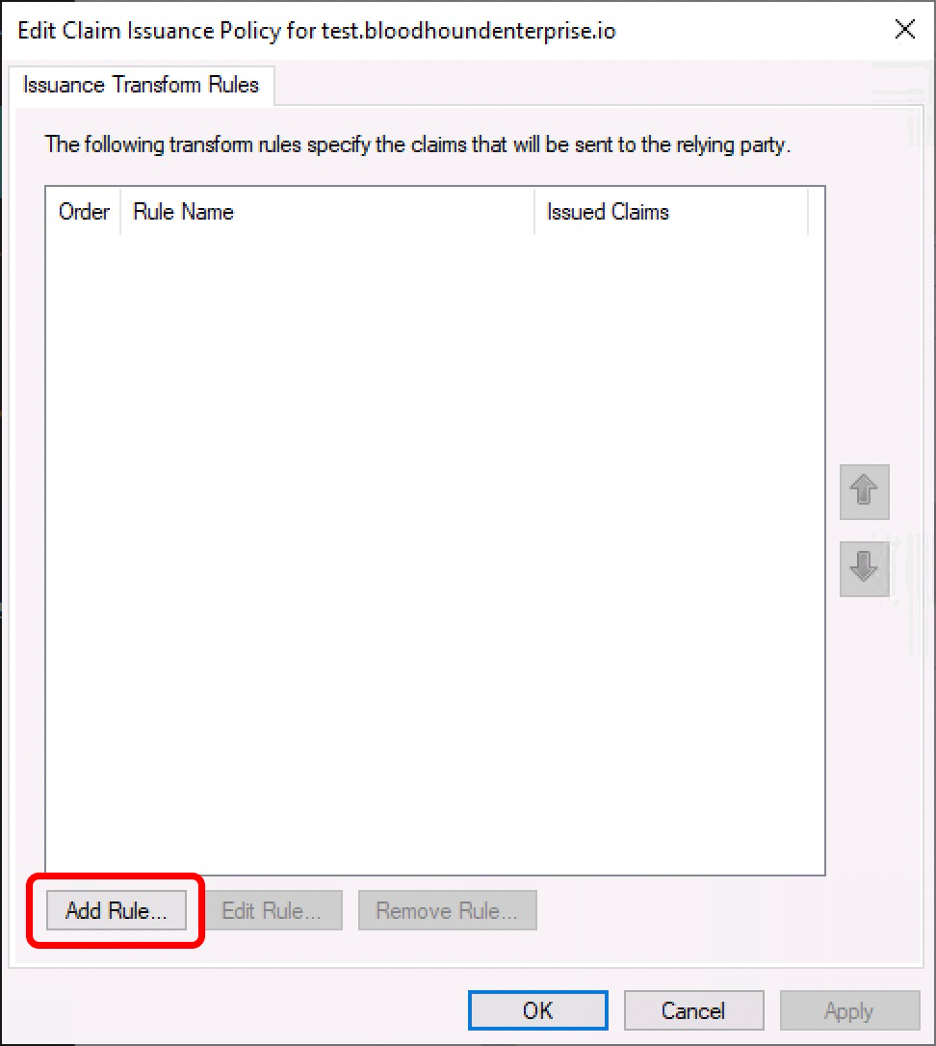
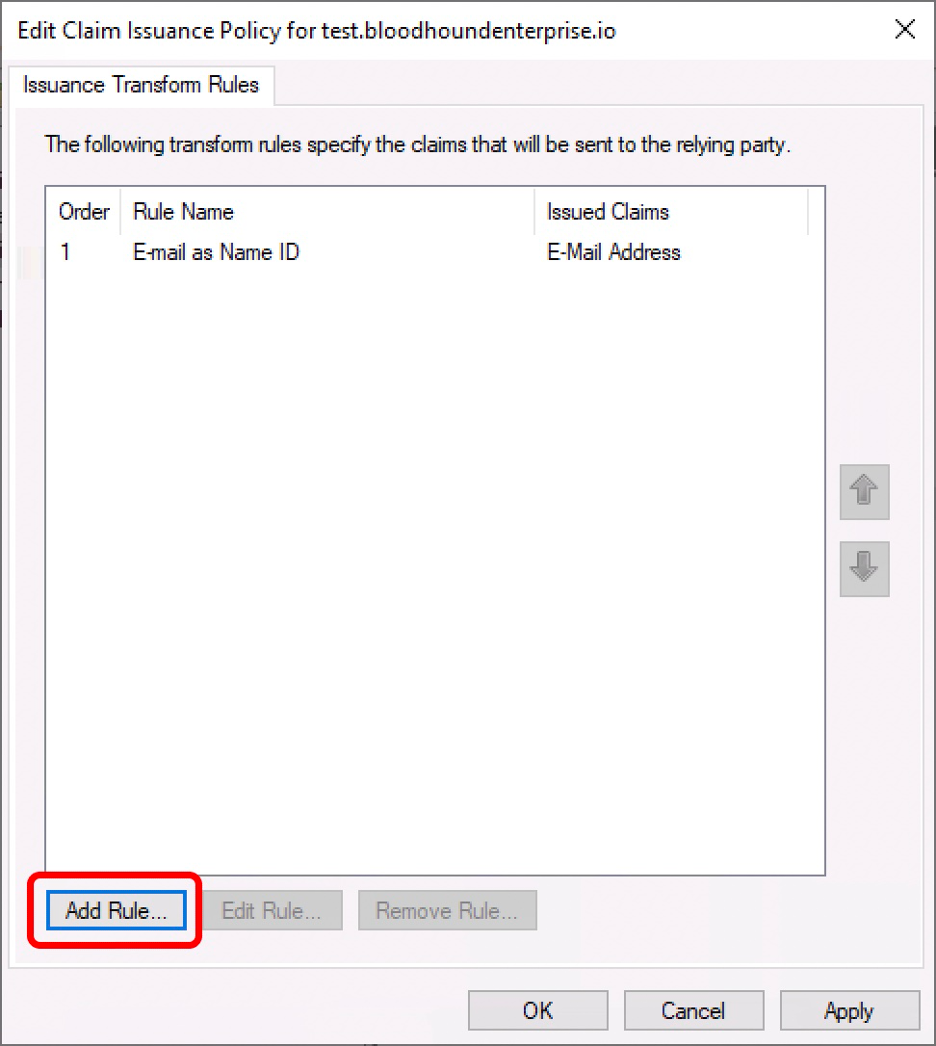
- On the “Edit Claim Issuance Policy” dialog box, click “Add Rule…”.
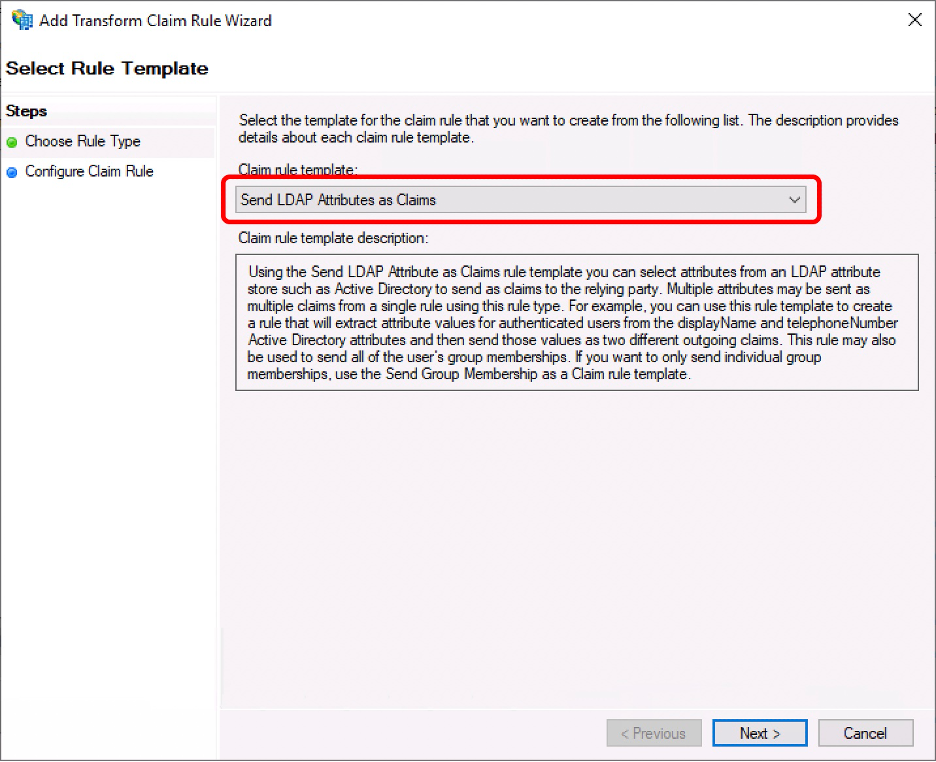
- Choose “Send LDAP Attributes as Claims” and click “Next.
- Fill out the following and click “Finish”. LDAP Attribute: E-Mail-Addresses Outgoing Claim Type : E-Mail Address

- Click “Add Rule” to add another claim rule.
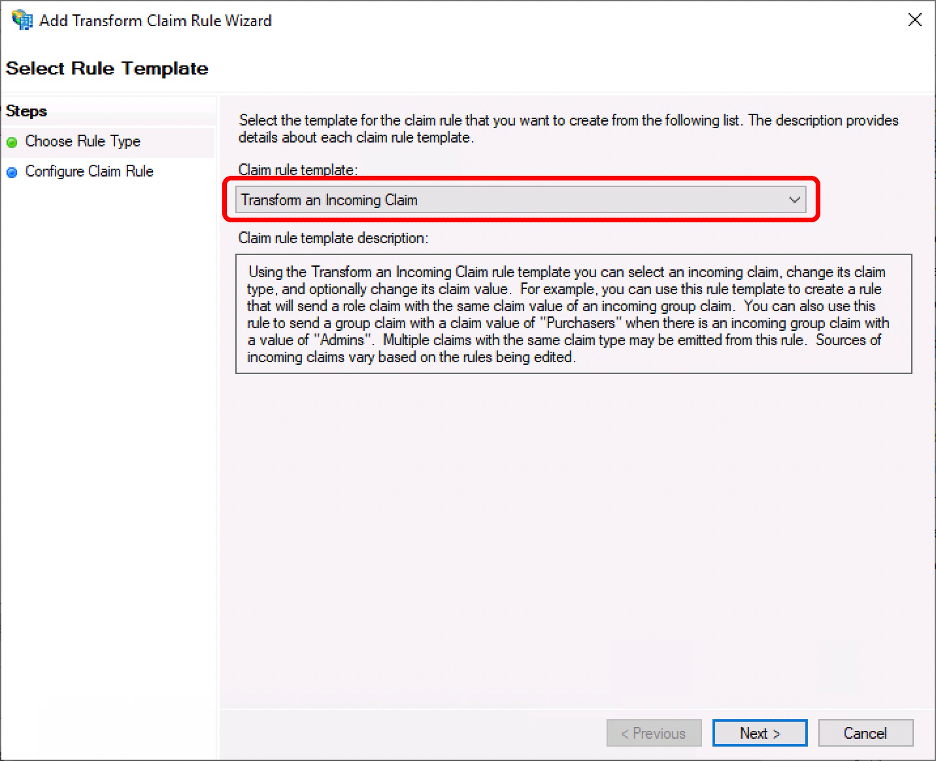
- Choose “Transform and Incoming Claim” and click “Next”.
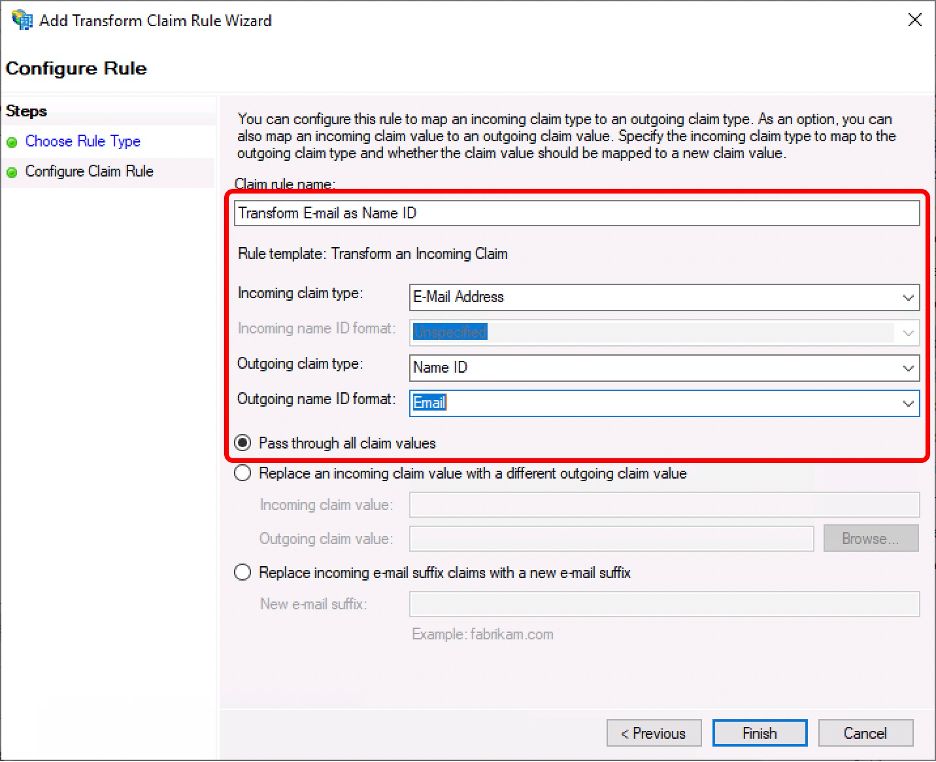
- Fill out the following and click “Finish”. Incoming claim type: E-Mail Address Outgoing claim type: Name ID Outgoing name ID format: Email Choose “Pass through all claim values”
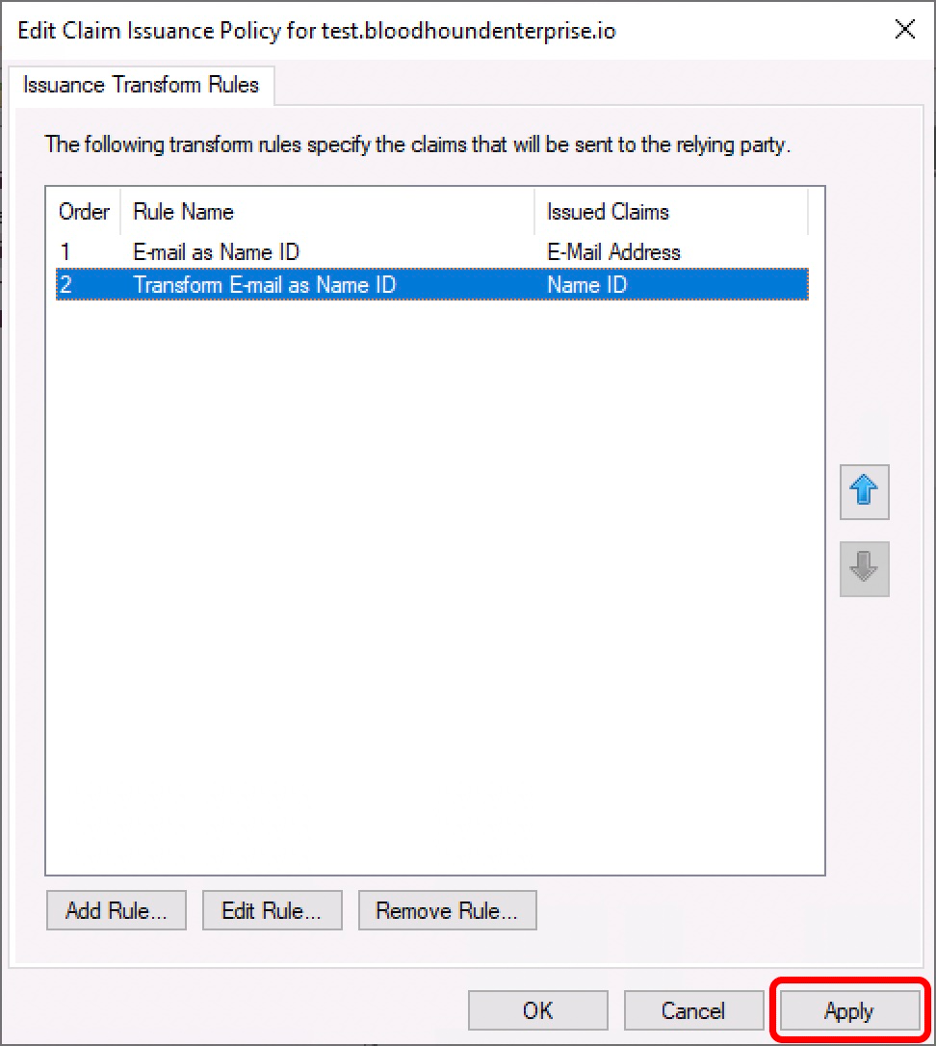
- Click “Apply”.
- Download the metadata file provided by your ADFS environment. By default, this is hosted at: https://YOURDOMAIN/federationmetadata/2007-06/federationmetadata.xml
- Follow the instructions at SAML in BloodHound Enterprise to create the SAML provider in BloodHound Enterprise.